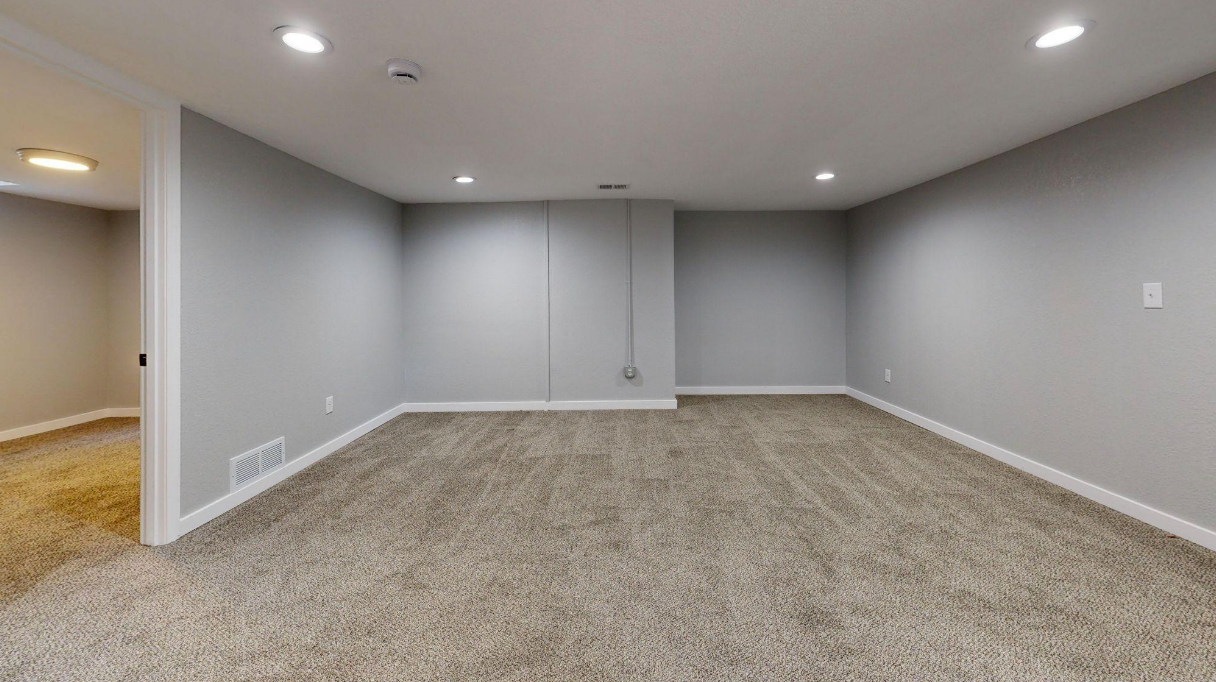
Why Your Basement Is Probably Costing You More Than You Think
Highlights:
- Uninsulated basements can account for up to 30% of a home’s total heat loss — making them one of the highest-leverage targets for energy improvement.
- Never install fiberglass batts directly against concrete; always use a moisture-tolerant first layer (closed-cell spray foam or rigid foam board) to block the moisture pathway before it reaches your framing.
- Rim joist sealing is the single fastest-payback upgrade in most basements — a $800–$2,000 investment that pays itself back in as little as 2–4 years through energy savings.
- Moisture control must come before insulation — active water intrusion, humidity levels, and vapor management need to be resolved first or problems will compound behind finished walls.
- Order of operations matters: bulk water → rim joist air sealing → moisture-tolerant insulation layer → supplemental insulation → humidity control → finishing. Skipping or reordering steps causes hidden long-term damage.
If you’ve ever walked into your basement and felt that cold, slightly damp air hit you in the face, you already understand the problem intuitively. Basements are energy sinkholes — and they don’t have to be. Whether you’re dealing with soggy walls, sky-high heating bills, or a musty smell that just won’t quit, the fix usually comes down to three overlapping systems: energy performance, moisture management, and smart insulation. Get all three working together, and your basement stops being the weakest link in your home’s building envelope.
Let’s break it down.
Why Your Basement Is Probably Costing You More Than You Think

Here’s a number worth sitting with: according to The Basement Guide’s 2026 insulation research, an uninsulated basement can be responsible for anywhere from 20 to 30 percent of a home’s entire heat loss. That’s not a rounding error — that’s nearly a third of the energy you’re paying to heat your home quietly escaping through below-grade concrete walls.
The same data set found that properly insulating basement walls and rim joists can reduce total household energy consumption by 10 to 25 percent, depending on your climate zone and how bad your starting conditions are. In 2026, with energy prices continuing to stay elevated across most of the country, that’s a meaningful number — one that starts to pay for your project well before you’ve finished decorating the space.
Most homeowners don’t think about their basement as an energy asset. But building scientists do. Below-grade walls are constantly in contact with soil — which sits at a relatively stable temperature year-round but still conducts heat away from your conditioned space. Without a thermal break between that concrete and your interior, you’re essentially running a slow leak of BTUs 24 hours a day, every single day of the year.
The good news? This is one of the most fixable problems in residential construction. And the fix doesn’t require tearing the house apart.
The Real Culprit: Moisture Before Insulation
Before you pull the trigger on any insulation project, there’s a non-negotiable first step: you have to address moisture. This is where a lot of well-intentioned basement renovations go sideways.
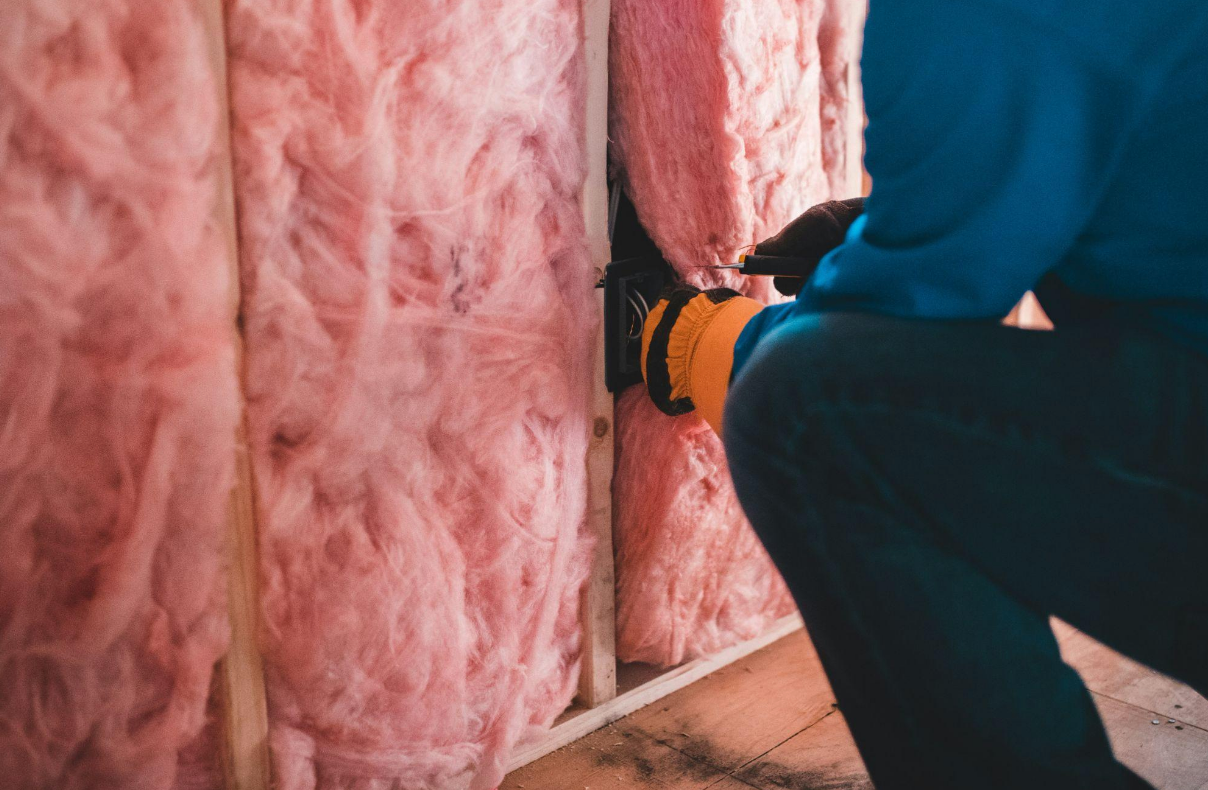
The classic mistake — and it’s surprisingly common — is stapling fiberglass batt insulation directly against a concrete foundation wall. On the surface, it seems logical. Fiberglass is cheap, easy to install, and works great in above-grade stud walls. But concrete wicks moisture from the surrounding soil. Fiberglass traps that moisture. And trapped moisture in a dark, enclosed cavity is a mold farm waiting to happen. The problem often doesn’t show up for months or years, by which point you’re looking at a remediation bill that can easily run into the thousands.
The right approach starts with a moisture-tolerant first layer: closed-cell spray foam or rigid foam board applied directly to the concrete surface. Both materials are impermeable to water vapor, which means they block the moisture pathway before it ever reaches your framing and insulation. Closed-cell spray foam (2 to 3 inches thick) delivers an R-value in the R-12 to R-21 range. Rigid XPS or EPS foam board at 1.5 to 2 inches typically lands between R-7.5 and R-10. Either way, you’ve broken the thermal bridge and the moisture bridge in a single layer.
Managing active moisture — whether from exterior groundwater pressure or interior condensation — also means paying attention to your humidity levels. Indoor air quality specialists consistently flag relative humidity above 60% as the threshold where mold growth becomes a serious risk. For basements, the target sweet spot is 30–50% relative humidity, a range that keeps surfaces dry, discourages biological growth, and protects structural wood framing from decay. A quality hygrometer and a properly sized dehumidifier go a long way toward keeping those numbers in check.
The Most Overlooked Upgrade: Rim Joist Insulation
If there’s one thing that surprises people when they start learning about basement energy performance, it’s how much heat loss happens at the rim joist — that band of framing that sits right at the top of your foundation wall, where the floor system meets the foundation.
Rim joists are notoriously leaky. They’re typically composed of multiple pieces of dimensional lumber with gaps, seams, and virtually no air barrier. On a cold day, you can sometimes feel the draft coming off them with your bare hand.
According to InsulationRValues.com’s 2026 basement insulation guide, blower-door testing consistently shows that sealing and insulating rim joists alone produces measurable reductions in a home’s air leakage rate — on the order of 0.5 to 1.0 ACH50 (air changes per hour at 50 pascals of pressure). To put that in practical terms, that reduction translates to annual energy savings of roughly $75 to $200 per year. The investment to do the work properly runs between $800 and $2,000, which puts the simple payback period at just 2 to 4 years.
That’s a remarkably fast return for a building improvement — especially one that also makes the first floor noticeably warmer in winter and eliminates drafts at the perimeter of your living space.
The mechanics of rim joist insulation are straightforward: you cut rigid foam board or use two-part spray foam to fill each joist bay, then seal the edges with acoustical caulk or additional foam to eliminate any air gaps. The goal is both thermal resistance and air sealing — one without the other gives you only half the benefit.
Choosing the Right Insulation Strategy for Your Basement Walls
Once moisture is addressed and your rim joists are sealed, it’s time to think about the full wall assembly. The right choice depends on your climate zone, your budget, and whether you’re planning to finish the space or leave it unfinished.
Closed-Cell Spray Foam
As the premium option, it’s vapor-impermeable, structurally rigid, and delivers high R-value per inch. It’s also the most expensive — typically $2.50 to $5.00 per square foot installed. If you’re in a colder climate (Zones 5 through 7) and you want maximum performance with minimal complexity, this is the move. One layer handles air sealing, vapor control, and thermal resistance in one shot.
Rigid Foam Board (XPS or EPS)
Rigid foam board is the middle-ground solution. It performs well against concrete, it’s DIY-friendly, and it’s considerably more affordable. The tradeoff is that installation requires careful attention to seams — any gap is a potential air and moisture pathway. Taping seams with foil tape and using canned foam around the perimeter takes care of this.
Fiberglass or Mineral Wool Batts
If used at all in a basement, it should only go between studs after a continuous layer of rigid foam has been installed against the concrete. Think of the foam as your protective layer and the batts as supplemental R-value. Never skip the foam.
For homeowners wondering how all of this fits into the bigger picture of finishing a basement — including what these materials cost as part of a full renovation — it’s worth understanding the complete financial scope of a basement remodel in 2026, which covers everything from framing and insulation to electrical and flooring. Having a realistic budget picture from the start prevents mid-project surprises.
Vapor Barriers: Still Necessary, But Context Matters
Vapor barriers are one of those topics where advice has evolved significantly over the past decade, and outdated guidance still circulates freely online.
The short version: a vapor barrier is not a substitute for air sealing, and its role in a basement depends heavily on your climate and your wall assembly.
In most cold-climate basements, if you’re using closed-cell spray foam or thick rigid foam board as your primary insulation layer, that material is already acting as a vapor retarder. You may not need a separate polyethylene sheet. In fact, adding one improperly can trap moisture between layers and cause the problems you were trying to prevent.
In mixed or humid climates, a vapor barrier on the floor — under a concrete slab or over a dirt crawl space — is almost always a good idea. A heavy-duty polyethylene or reinforced vapor barrier on the floor prevents soil moisture from evaporating upward into the conditioned space.
When in doubt, consult your local building code and a building science professional familiar with your specific climate zone. Vapor control is one of those areas where doing it wrong costs more than doing nothing.
Mechanical Ventilation and Dehumidification: The Active Layer
Even a perfectly insulated, air-sealed basement needs some active moisture management, particularly during humid summer months when the stack effect draws warm exterior air downward into below-grade spaces.
A properly sized dehumidifier is the most reliable tool for maintaining target humidity levels year-round. Units are rated in pints per day, and for most basements between 1,000 and 1,500 square feet, a 50- to 70-pint unit running on a humidistat gives you responsive, automatic control.
For finished basements that are occupied or used regularly, integrating the space into your home’s HVAC system is worth considering. A small supply duct bringing conditioned, dehumidified air into the basement goes a long way toward keeping conditions stable without running a standalone dehumidifier continuously.
If your basement has a history of water intrusion — actual liquid water coming in through cracks or at the floor-wall joint — dehumidification alone won’t fix it. That’s a waterproofing problem that needs to be solved at the source before any insulation or finishing work begins.
Putting It All Together: The Right Order of Operations
The single biggest mistake homeowners make when tackling a basement energy project is doing things out of sequence. Here’s the order that building science supports:
- Address bulk water first. Fix any active leaks, cracks, or drainage problems before you put anything on the walls.
- Air seal the rim joists. This is fast, high-ROI, and should happen before insulating the walls.
- Install a moisture-tolerant first layer against concrete. Closed-cell spray foam or rigid foam board — not fiberglass.
- Add supplemental insulation if needed. Stud walls with batts can go in after the foam layer is in place.
- Control humidity actively. Install a dehumidifier with a humidistat, or integrate the space into your home’s HVAC.
- Finish the space (optional). Drywall, flooring, lighting — everything goes in after the envelope is solid.
Follow this sequence and you end up with a basement that’s warm, dry, energy-efficient, and usable year-round. Skip steps or reorder them, and you may end up finishing a space that develops problems behind the walls over the following years.
Wrapping It Up
Basements are one of the highest-leverage opportunities in residential energy efficiency — and one of the most frequently botched. The combination of heat loss through uninsulated concrete, air leakage at rim joists, and moisture intrusion through walls creates a triple threat that most homeowners don’t fully understand until they’re dealing with the consequences.
The 2026 data is clear: addressing all three of these systems together — insulation, air sealing, and moisture management — produces compounding benefits. Energy bills drop. Comfort improves. The risk of mold, structural damage, and costly remediation goes down. And if you’re planning to finish the space, you’re building on a foundation (literally) that will hold up over time.
That’s the kind of investment worth making.